Quick and simple lessons on how to use Reaper.
Basic lesson 2 – Recording a track.
Open Reaper on your PC or Mac.
Start a new project –
Insert a new track – Insert Track – Tutorial
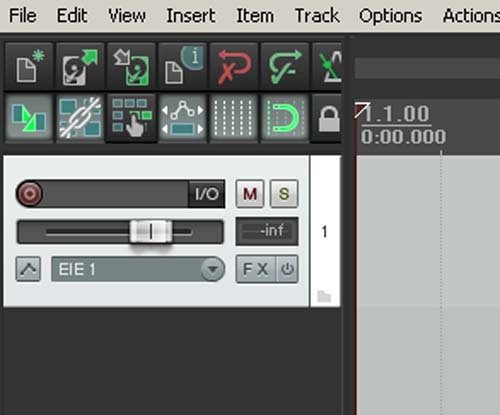
Once a track has been added you can ‘arm’ it to record
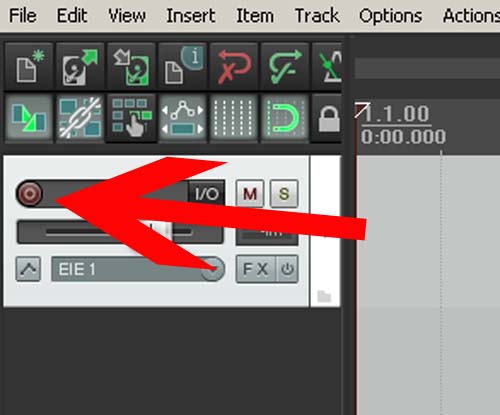
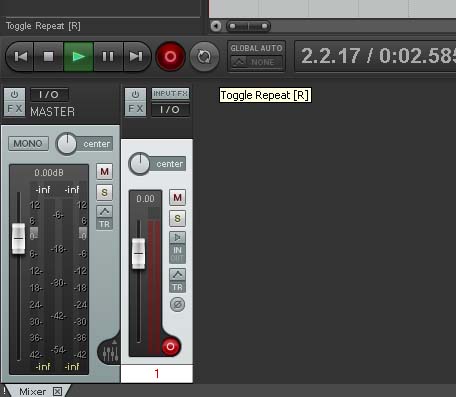
Click the button – it’s a dark red circle – see picture below.
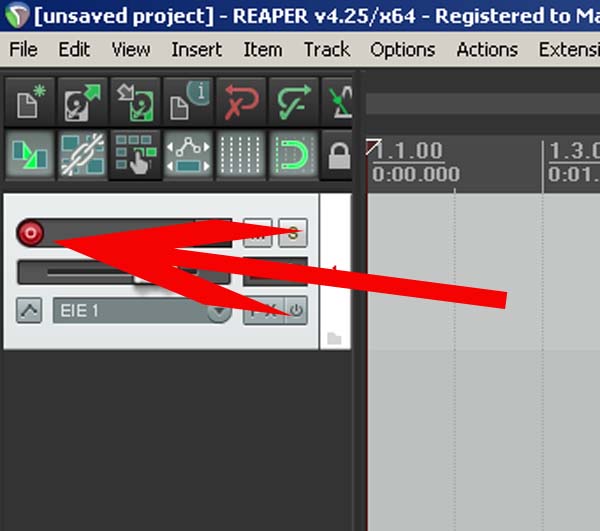
You should see the button go from dark red to bright red – see image below.
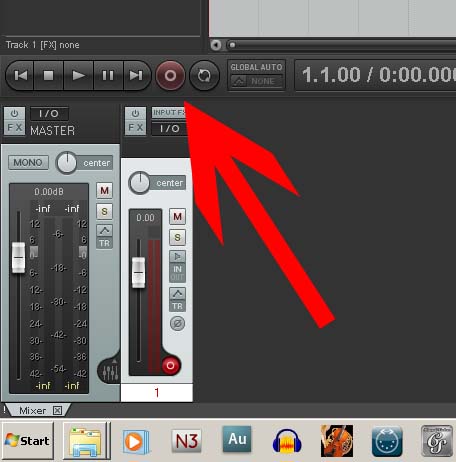
To record on this track we need to press the dark red button in the transport section of reaper – look at the bottom left hand corner.
Press the button or using a shortcut – ‘Ctrl + R’
The dark red button will turn bright red and the play button will become green – your track is now recording.
To stop the recording you can either press the red button or stop or better still hit the space bar.
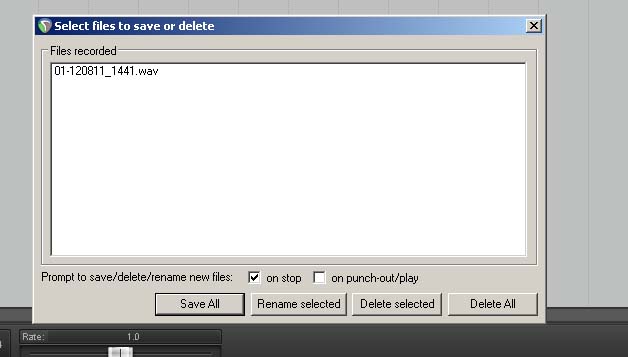
Once your recording has finished you will see this pop up screen – if your happy ‘Save All’ if not choose one of the other choices.
I tend to ‘Delete All’ and try again.
You can now add more tracks and record.
Tips:
1. When you’ve finished recording press the bright red button,
The reason for this is if you hit record you won’t clutter this track with another take.
This can happen if you add more tracks.
2. Get used to shortcuts – saves having to grab the mouse all the time.
3. The ‘Space Bar’ can be used to stop and to play a track.
4. Give your project a name and save when yo start – record every time you record a track you’re happy with.
